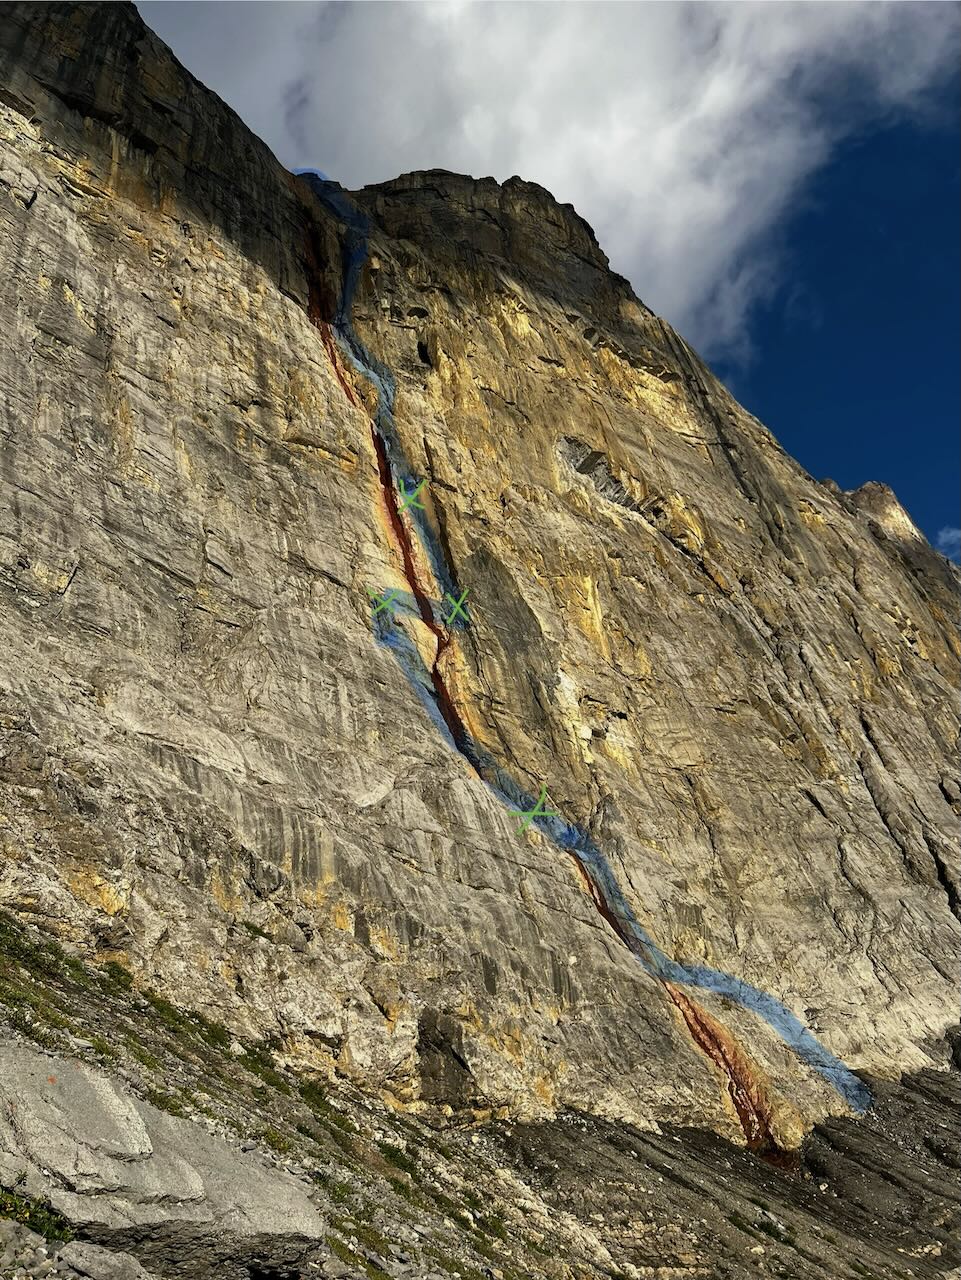
Rimwall Topo
Iron Tears
The Rimwall
5.11 (5.10+ A1) 465m TD-
Gabs Clark, Greg Barrett
August 17, 2025
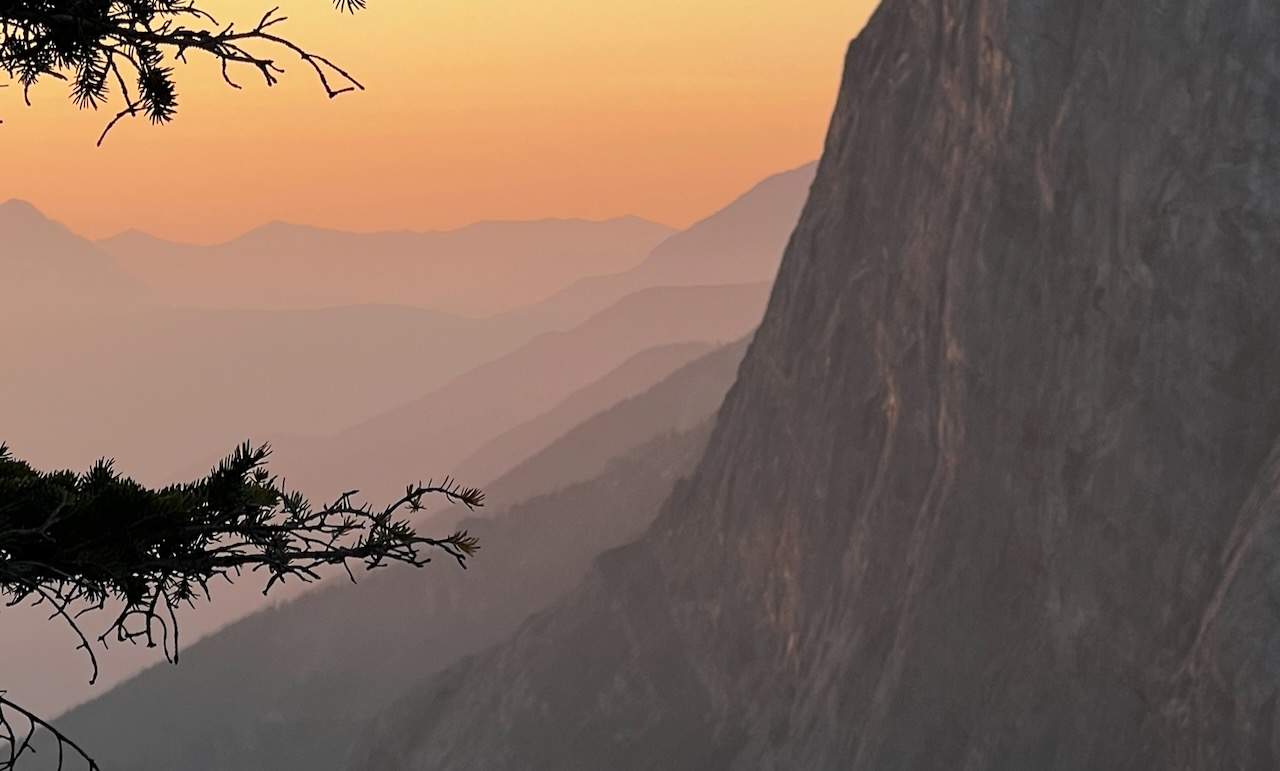
When it rains, the Rimwall cries tears of iron.
The blood colored streak is visible from the highway eight kilometres away, running down its face and into the valley below. Up close, the tears leave behind a gorgeous patina of oranges and reds, smooth water-worn slabs, and deep runnels in the rock. While they’re flowing, there are waterfalls, creeks, and small pools covering the wall. The Rimwall’s iron tears provide a unique ambiance to an alpine climb.
The actual rock is something special, too. It is predominantly dihedral and chimney crack climbing, featuring loads of hand/fist jams and finger locks, and a good share of lie-backing and proper chimney movement. The rock is generally solid, and the climbing is sustained in the 5.8 to 5.10 range.
Protection is adequate and traditional, if a bit spicy at times.
The route would be easiest when fully dry, but a moderate amount of water flow adds an incredible vibe.
In mid-August, the route received sun until the early afternoon. Being sheltered from the prevailing winds and exposed to quite a bit of sun, it is warmer than you would expect from a NE aspect climb.
The pitch descriptions for the latter half of the route are not perfect. Follow the path of least resistance, trust your instincts, and err on the side of splitting pitches up early.
Approach
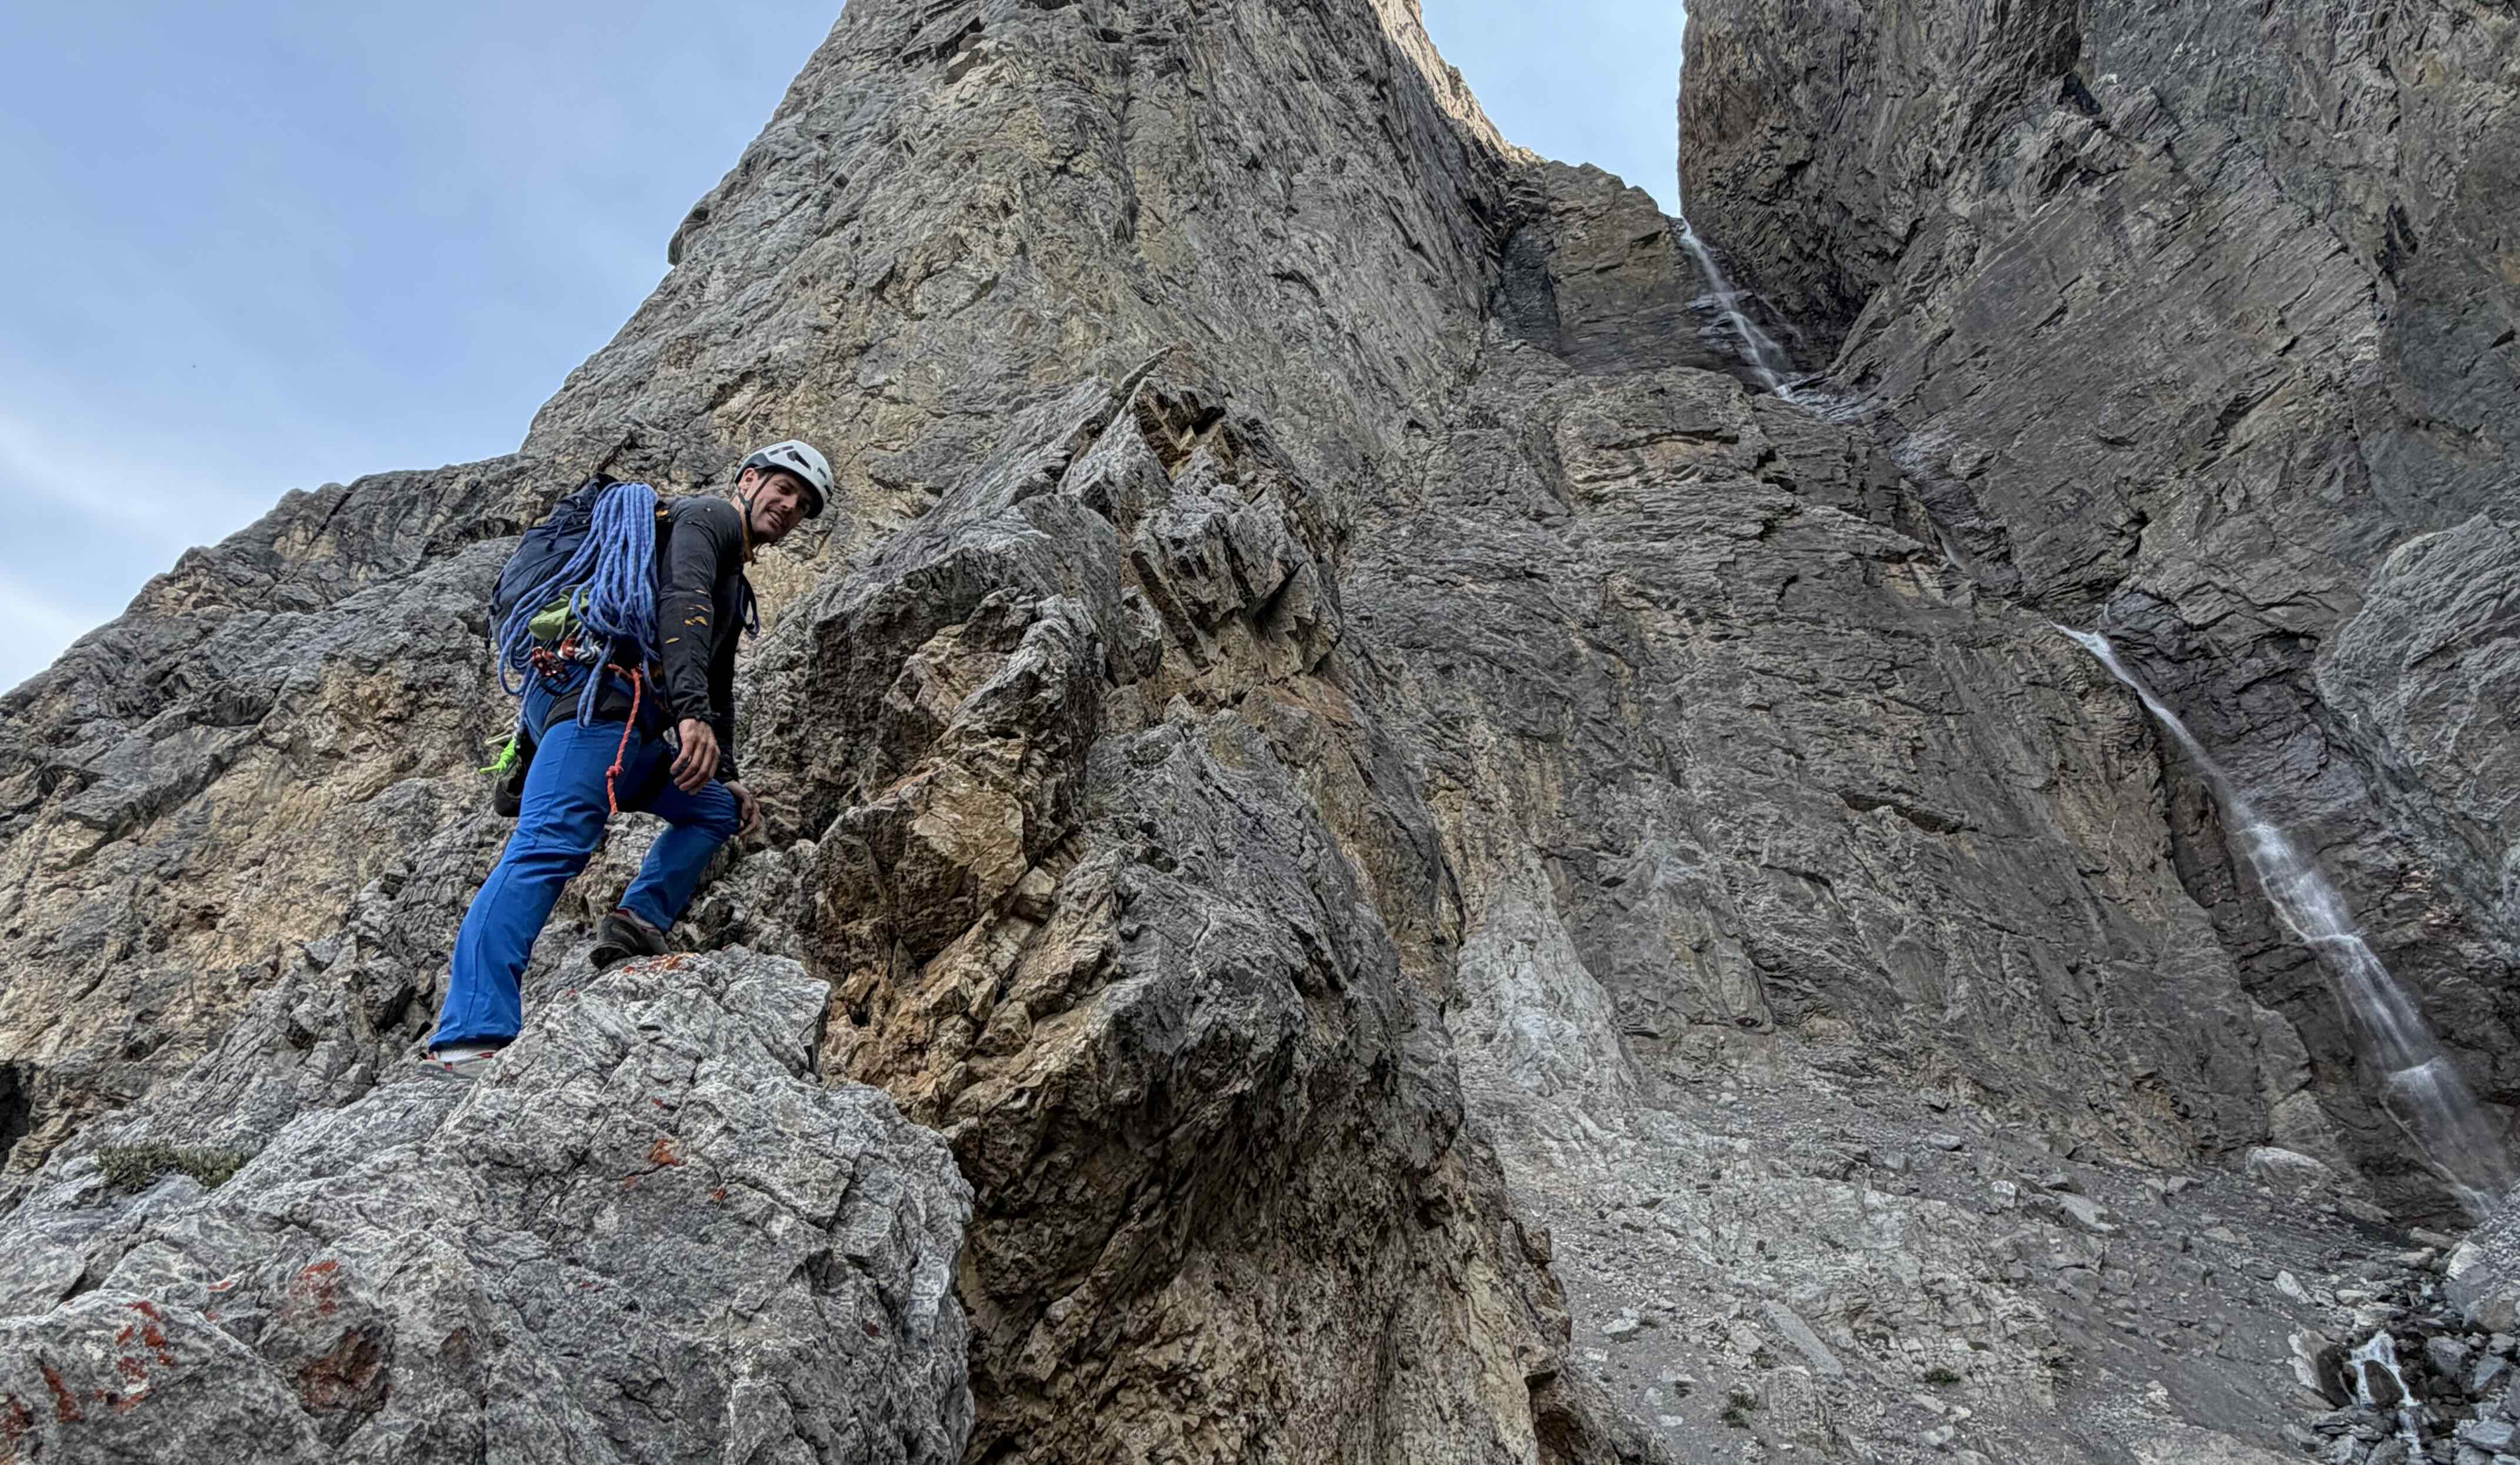
Park as for West Wind Pass. Approach to the West Wind Col, then contour around the base of the Rimwall. Stop when you reach the pronounced red streak. 1-1.5 hours.
Iron Tears GPS Track
West Wind Pass (AllTrails)
P1 Original, 5.3R, 70m+
Start from the right side of the tears. Climb to a sloping ledge, clipping a bolt. Cross the tears, and gain a right-facing corner. Trend up and left to gain a large scree ledge where a chain station awaits. Protection towards the end of this pitch is marginal, and you will likely need to either simul-climb or split the pitch.
P1 Alternate, 4th
Stat at the base of the wall, well left of the tears. Climb any of the variety of fourth class options, diagonally up and right, aiming for a large scree ledge and the same chain station described above.
P2, 5.8, 50m
Just to the left of the tears, there is a right-facing corner system. Climb this for 20m to gain a smaller scree ledge. Above, an easier left-facing corner system continues. Climb this to the top of a pinnacle and chain station belay.
P3, 5.4, 25m
Traverse rightward across the tears. On the far side, trend up and right, targeting the base of a gorgeous dihedral. A good belay stance can be found by trending further right instead of going high.
P4, 5.10+, 45m
The money pitch. Climb a beautiful left-facing dihedral on hand jams and finger locks to its top, stepping slightly left below a roof to a chain station belay beside a lovely pool.
P5, 5.11 (5.10- A1), 30m
The crux pitch. Steep moves off the ground lead to highly technical sequences. The crux moves are protected by a modern bolt. Above, the difficulties ease and lead to engaging pillar climbing.
This sequence can readily be aided on a self drive, fixed pins, cams, and the bolt, keeping the grade within the 5.10 range. High step the bolt to get cam(s) in the left crack above it, and go back to free climbing.
Top up water if needed, you’ll leave the streak until the top.
P6, 5.9, 40m
Continue up a chimney for 40m before stepping right to a belay. It may be possible to link this with the previous pitch.
Greg got lost here repeating his own route. Don’t sneak out right at the 30m mark onto an extremely chossy ledge system.
P7, 5.10-, 60m
Climb the obvious chimney feature, potentially making it to a large ledge after a full rope length. It may be best to break this up halfway.
P8, 5.9, 40m
Continue up more chimney features until you reach a wonderful belay ledge. A 10m section of this pitch had running water for the FA, but was still climbable.
P9, 5.10-, 25m
Climb the lovely corner above to a crux at its top, gaining a large ledge. Head right across this ledge to the base of another left-facing corner. Belay here.
P10, 5.10-, 50m
Climb the left-facing corner. It’s harder and more technical than it looks. When you reach a ledge, trend left up a right-facing corner to gain a ramp system back towards the tears. Belay a ways up the ramp, but before it turns into unprotectable scree.
P11, 5.0, 40m
Continue up the ramp back toward the source of the tears. Ascend ledges on the right side of the tears, before eventually stepping back into the tears themselves to gain the scree bowl. Do a Yamnuska-style seated scree belay, or continue up to a rock outcropping. There is little to no good protection on this “pitch”, but the movement is moderate and secure enough, if a bit chossy.
Descent
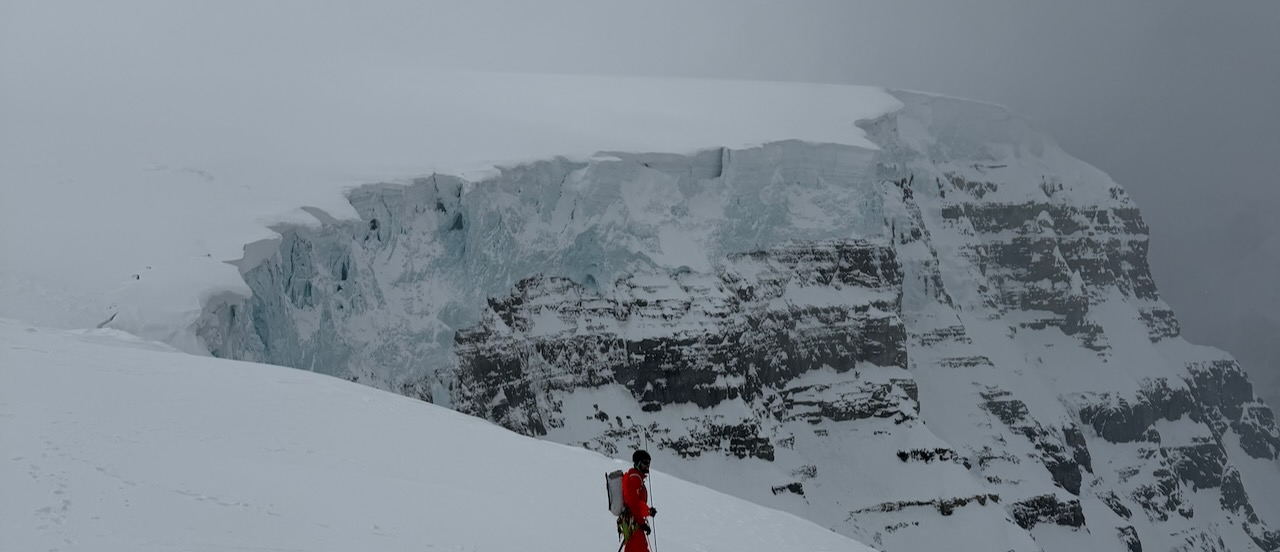
Tag the summit if you wish, and descend via the scrambling route.
Rack
Single rack .2-3, doubles .3-2. A full set of nuts. Triple .5 & .75 are useful, as well as a #4.
Hammers and pins can be left at home.
60m ropes, a single/tag configuration is useful for hauling packs on hard / chimney pitches.
There is loads of sharp jamming, consider crack gloves.