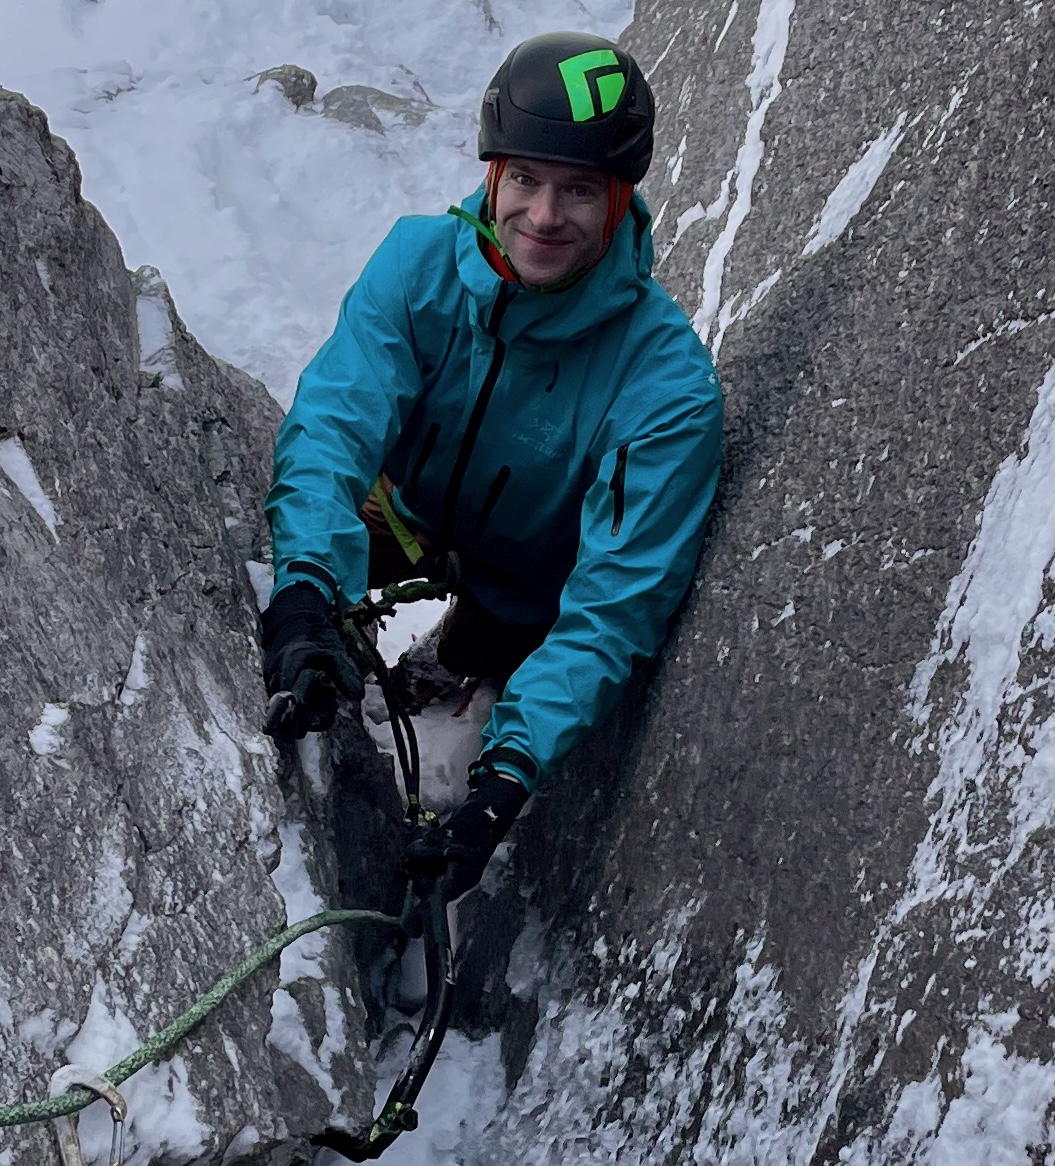
This summer, I took the two week ACMG Apprentice Alpine Guide training course, trained a whole bunch on classic routes, and eventually passed the two week exam. It was an extremely valuable experience, but also quite stressful. And the whole time, front of mind, was how to manage risk to an institutional standard.

With the exam complete, I yearned to explore the unknown again, managing risk based on my own intuition and that of my partners. Fickle weather slowed me down slightly, and ruled out multi-day objectives. Slowly, a return to the west end of Castle Mountain, the scene of Confessions of a Choss Gobbler, floated to the top of my to-do list.
Nick Baggaley was down. He’s game for suffering, and we both assumed we were signing ourselves up for a bit of a horror show. I floated the route name ‘Fool Me Twice’, referring to being tricked for a second time by lines on that wall that look good from afar, but are far from good.
The mountain had other plans for us. It had a gift, an offering, almost an apology for the choss Gavin McNamara and I had endured (and perhaps at times savored) the season prior. Our whole day, Nick and I climbed beautiful pitch after beautiful pitch, always thinking ‘That was great, but surely it’s going to go to hell soon’. But it never did.
Another journey begins
We left town at 4 a.m. with a well-defined but flexible plan. We’d start on this corner system, ascend that face, and finish up a chimney near the prow. We’d rappel a different wall, scramble down a gulley, and finish rapping back to our start. We’d carry a drill and bolts, but ideally we’d only place them as rappel anchors.
5 o’clock found us suiting up at the parking, and by 7:30 we were at the base of the wall. I’d soaked my feet and pants in dew and wet moss on the approach. I stuffed soaked socks in my pockets to dry, crammed my feet into the ‘performance fit’ rock shoes I’d selected, and rocked back and forth in discomfort at the belay.

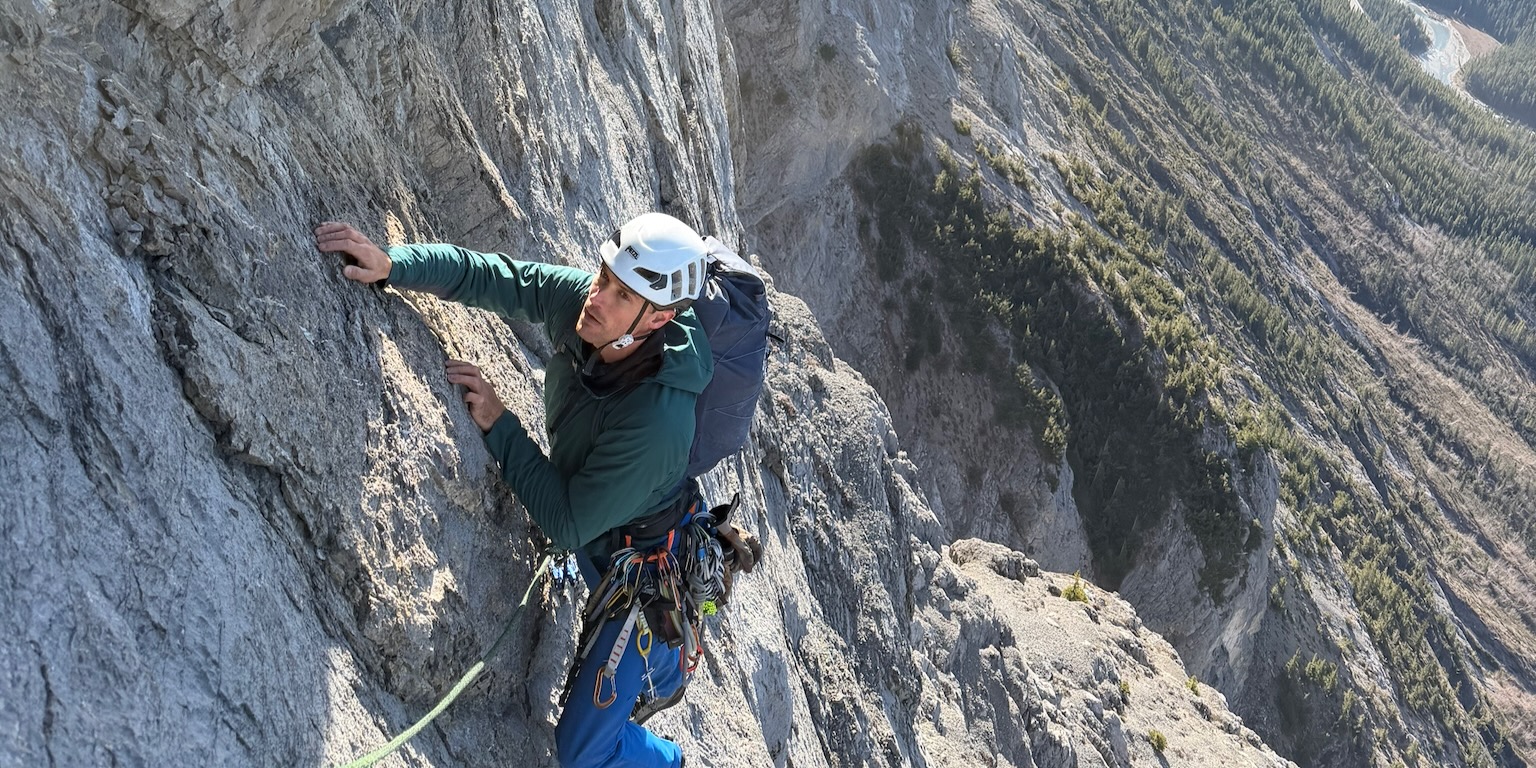
Nick led out in a fresh pair of dry pants and comfortable rock shoes. I cursed my shortsightedness, but was grateful for Nick’s composure and better decision making as he fired us up back-to-back pitches of beautiful, incut, well protected climbing. I did my best to keep up, acting as a temperamental pack mule while Nick moved us forward, equipping rappel anchors for our descent as he went.


Eventually, I rally
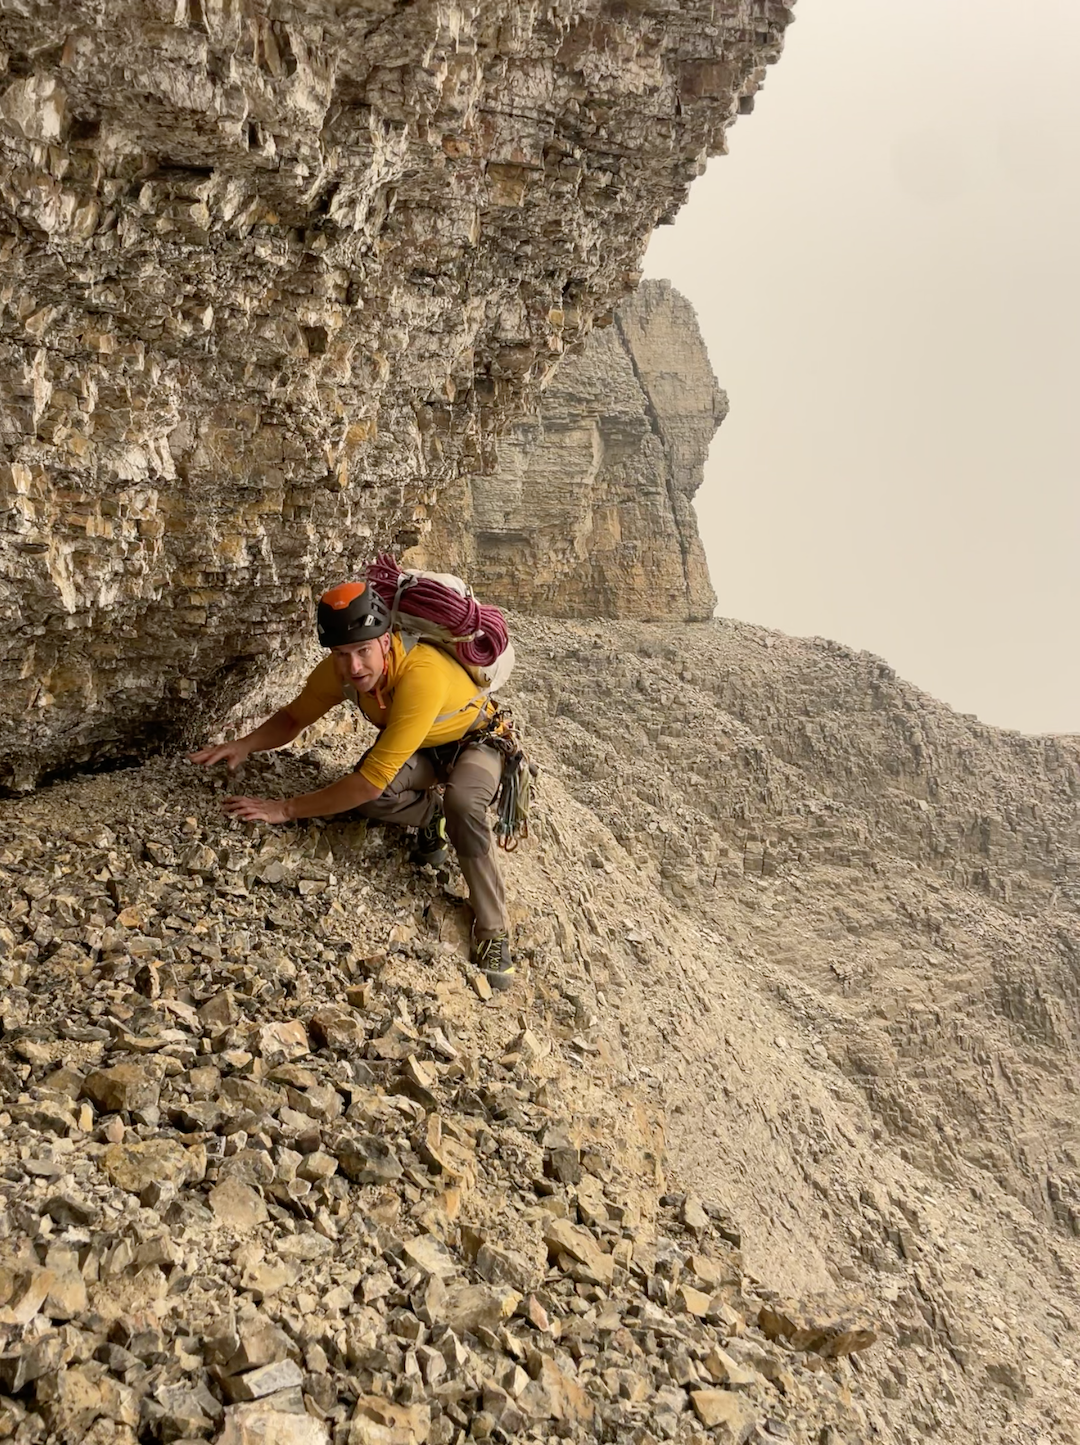
We topped out the lower tier in four-and-a-half pitches of climbing, at a delightful clip. My socks had dried somewhat, and I stuffed them onto my feet and back into my approach shoes. We stomped up scree to the middle tier, eventually selecting a slightly dubious looking chimney as our point of attack.

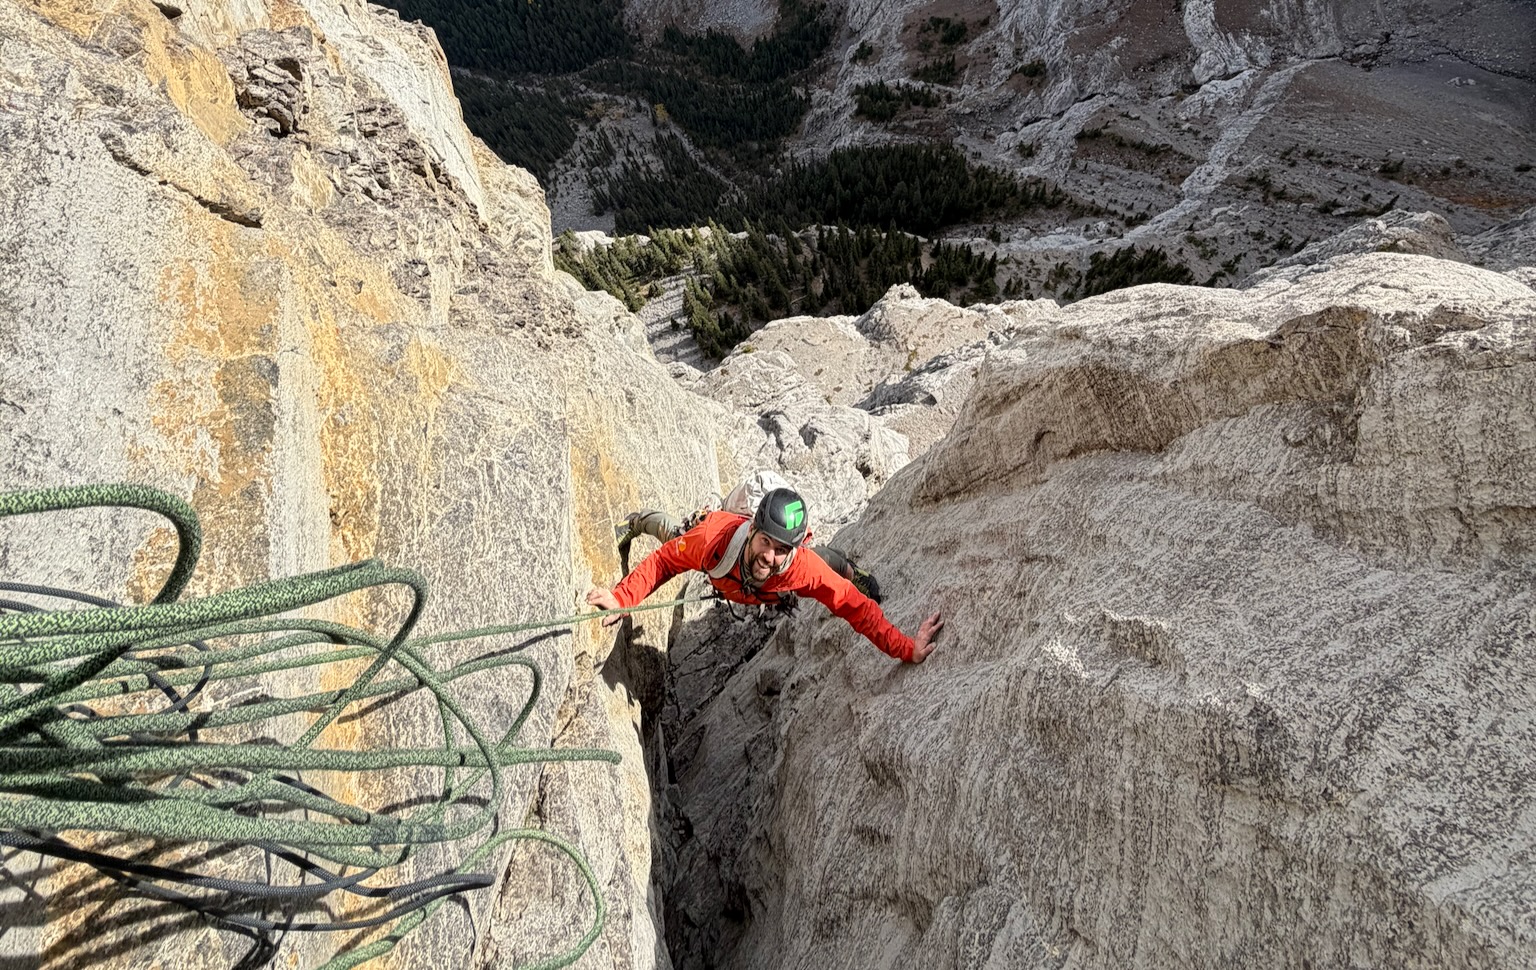
The day was getting warmer, I was drier, and my dose of stimulants for the day kicked in. The chimney started out scrappy, but it gave way to beautiful face climbing, and a corner system with all the jugs you could possibly hope for. I felt myself settling into a rhythm again. Another pitch started scrappily, and again gave way to intriguing climbing. This time it was on rock fins on an arete. A final pitch led up a broken-but-improbably-solid corner and a slightly-overhung but-jug-laden top out.
We scrambled on and arrived at the top of the second tier, on a ridge in the sky, at noon. Things had gone so smoothly. We took a well deserved break to eat lunch and wander about, scouting possible lines. The coolest feature was a pronounced prow jutting out above us, the bulwark of Castle’s western limits. It seemed improbable that it would protect adequately on cams and nuts. After a good deal of hemming and hawing, I lead up to find out.

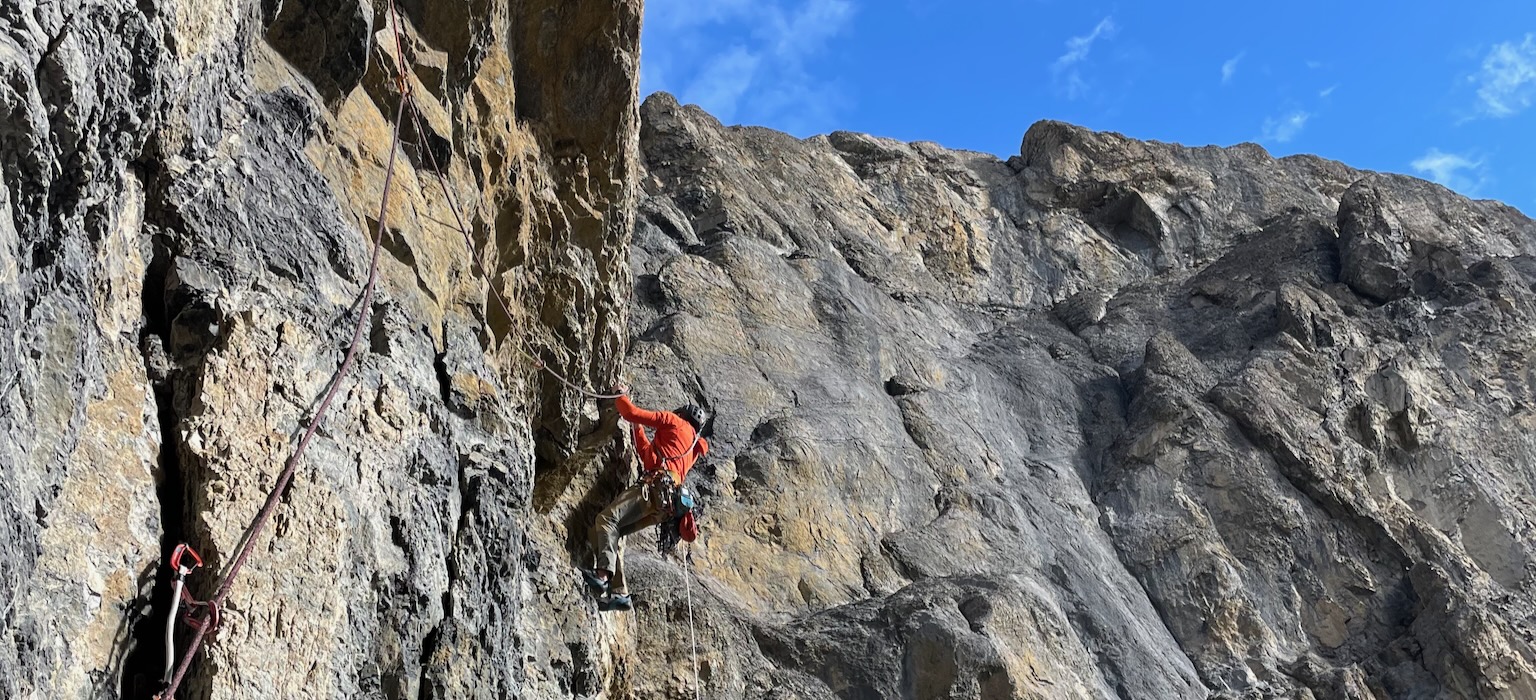
The nature of the rock was different from what we’d encountered below. Where previously we’d found plentiful protection, now, corners seemed to be flaring or sealed shut. I continued up, and in a strange way the wildness of the position made up for the sporadic protection. Towards the top, I clung atop an undercut feature on the tip of the prow, with a 270 degree arc of exposure all around me. I savored the moment, and stretched the rope out into the more moderate terrain above.


The top was in sight, and we decided to start swinging leads. Nick charged up a wide break in a steep wall, and continued weaving upward around blunt aretes.

I took the reins back for one final pitch. I became a living embodiment of the sunk-cost fallacy, as I pushed higher and higher up a corner that clearly did not want to be friends with me. I cursed myself for attempting it in approach shoes as I clung to two jugs and swung both feet around an undercut prow. I preferred to trust my grip strength instead of trusting my shoes’ edging ability.

Easier climbing followed, and eventually I was belaying Nick up to the gravel plateau that is the ‘summit’ of Castle’s western extent. It wasn’t even 4pm yet. We’d topped out a full 10 hours earlier than Gavin and I had the season before. All the same, we’d been pushing hard, and we were a bit exhausted, both physically and mentally.

It’s not over ‘till it’s over

By the time our ropes got stuck two rappels in a row, our praise for the climb had devolved into a debate about the merits of different tag lines and rappel configurations. The sort of debate that to an outside observer, looks more like an old married couple bickering than it does like two alpine climbers trying to decide how best to get off a mountain. Nick bit the bullet and ascended our stuck rope, freeing it and setting us back on a smooth track down.

We flowed through the rest of the descent, our biggest remaining challenge being selecting a route name. Eventually, a sound argument swayed us both:
“It should be Juggernaut, because there’s jugs everywhere. Jugs, Juggernaut, jugs. Get it?”.
Nick added that a Juggernaut was an unstoppable machine, which is exactly what we felt like on our tear up the mountain.
Reflections
My first delight about this line is how good it felt to float up a mountain on my own terms again. This summer’s training made me realize just how much of my time in the mountains is spent in ‘System 1’, intuitive thinking mode. It’s empowering and intensely soothing to go through all the preparation and legwork to ultimately find yourself mid-pitch, with the right partner on the other end of the rope, the right equipment dragged along, feeling almost like an outside observer along for the ride. Your body moves through the terrain for you, and your decisions feel effortless and second-nature. Someday I hope that my alpine guiding will feel the same way, but for now it’s an analytical and deliberate process. More second-guessing than second-nature.
My second delight is that it’s just an objectively great route. It’s sustained at its 5.7-5.8 grade for an impossibly long time, in a great setting, on great rock, with good gear, enjoyable movement… I could go on. Most of the time if I recommend one of my routes, it’s with a caveat like “If you’re into that sort of thing”. In this case, I suppose you do have to be into a long trad 5.8. But even then, retreat is straightforward up to 225m and again at 360m.
If any of this sounds enticing, get after it, and let me know how it goes!

Route Description
Juggernaut
Castle Mountain, Alberta
5.9 550m D-
Nick Baggaley, Greg Barrett
September 10, 2026
This long alpine rock route ascends the western most flank of Castle Mountain. The rock quality, protection, and climbing are all excellent by the standards of a big Rockies line. The name Juggernaut comes from both the plethora of juggy holds on almost all of the pitches, as well as the steamroller-like nature of the fast moving first ascent.
Lead protection is all traditional and clean, as are all but two ascent anchors. Seven bolted anchors facilitate descent.
The route is composed of three major tiers. Descent is relatively straightforward from the top of each tier, allowing the route to be undertaken in chunks without committing to a full top-out.
Overall protection is good for an alpine route at the grade, with the exception of two aesthetic but runout pitches climbed by the FA party. Fortunately, both of these pitches can be bypassed on more moderate and better protected ground. In general, there are many options for variations almost the whole way up the buttress. A strong team could likely add a number of high quality 5.9/5.10 variations.
Approach
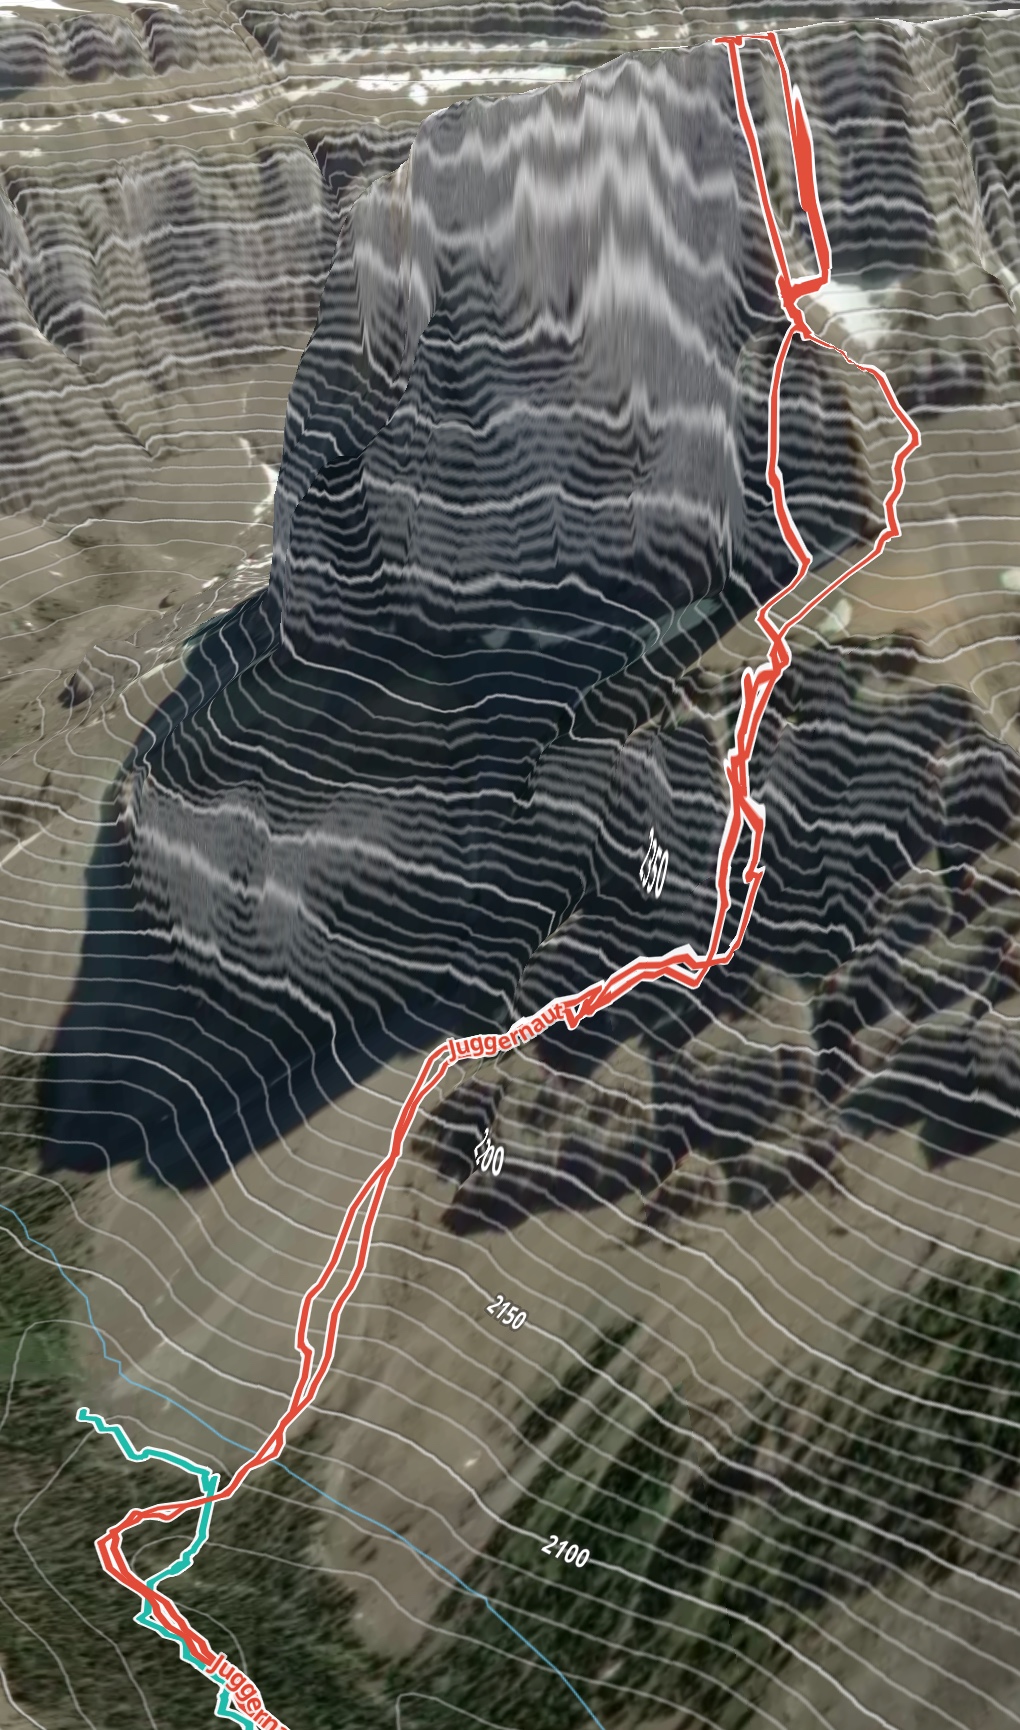
Park in a pullout across from the Protection Mountain Campground. Approach as for the Protection Valley winter climbs. Follow the sporadic flagging until you cross the creek just below the west end of Castle Mountain. From this point you can see the route, as well as a small cliffband below the lower wall. Bypass this cliffband on its left end. Traverse back right until you’re at a high point above a very large boulder (6km, 600m gain, 2-2.5 hours)
Rack up here. Climb a short step of low fifth class climbing to gain a ramp system ascending rightward (take note of flakes that can be used to rappel this step on descent). Follow this ramp rightward until you are below easy climbing terrain. This terrain leads you back up and left to the main corner.
GPS Track on Outmap
juggernaut.gpx
Start of P1: 51.3368,-115.9832
Ascent - First Tier
P1, Low Fifth, 60m
Climb the path of least resistance to gain another large scree ledge. Continue up the scree ledge and belay on gear at the base of another rock step after 60m. (Take note of a two bolt rappel anchor 15 m to your left).
P2, Low Fifth, 20m
Climb the short step, and head up scree to the base of the large right facing corner system. Belay here. Alternatively, reach this point by simul-climbing on P1, or inchworming on P2.
P3, 5.7, 60m
Zigzag your way up ramps and corners, aiming for the left/deepest part of the corner system in a little bay at about 35m. Chimney up and out of this bay (crux) and follow the easer corner/ramp to a nice ledge and two bolt anchor, 15m below a steep wall of orange rock.
P4, 5.8, 45m
Continue trending left up the corner, stemming and jamming your way up a steeper sequence. Stay towards the right as you gain the scree ledge above to minimize rockfall. Belay on gear on the wall above.
Coil your rope and traverse right along the ledge, passing a two-bolt rappel anchor. Head up-slope to an obvious weakness in a right facing corner.
P5, 5.7, 40m
Ascend the blocky corner as you see fit. A steeper, cleaner portion of it provides excellent climbing. Pull onto the shale ledge, and belay on two bolts on the wall to the right.
Ascend the rubbly slope, heading up to the base of a large right facing corner that starts as a chimney.
Ascent - Second Tier
P6, 5.8, 40m
This pitch looks questionable from the ground, but actually climbs and protects well once you get through the start. Work your way up the back of the chimney until you are high enough to place gear in the chockstone. Step back down slightly, and climb around the chockstone on good ledges. Steep juggy climbing leads up from here to the top of the pillar and a gear belay.
P7, 5.7, 60m
Head up toward a vegetated groove. Head up and left in the groove, leading to a nicer groove feature. Continue up it, into a funkier bay of rock. Climb the jagged fin/buttress feature to a ledge at its top, and belay on gear.
P8, 5.8, 35m
Climb the deepest corner on better-than-expected rock before pulling right through the small roof bulge and exiting right onto the ledge above to belay on gear.This variation has a very cool exit, but it does expose the belay to some rockfall potential. Alternatively, follow any of the other weaknesses to gain the same ledge.
Put the rope away and scramble up to the top of the buttress.
Ascent - Third Tier
You have multiple choices for the first pitch of this tier. The FA version provides incredible position and is highly worthwhile for climbers comfortable with its runout nature. The alternate pitch provides a more reasonable bypass, regaining the same position.
P9, 5.8R, 60m
Belay at the base of the steep buttress. Climb up and right at first. Once through initial broken terrain, stay as true to the crest as is practical. Higher up, bypass small roofs on the right before regaining the crest in incredible position. Continue upward on easier ground and belay on gear.
There is good protection on parts of this pitch, but there are stretches of steep, runout climbing in the middle and upper section.
P9/10 Alt, Mid Fifth, ~120m
Traverse rightward for ~75m on ledges below the third tier. This side of the buttress is more of a ramp and presents many moderate options. Climb it as you see fit, rejoining the route at the top of the buttress.
P10, Low Fifth, 15m
Move the belay along the ridge to the base of the next step, belaying on gear or a slung block/chockstone.
P11, 5.8, 60m
Climb up and right from the belay into a small chimney/crack. Climb up the steep wall, using a mix of juggy holds on the sides and jams in the crack. At its top multiple choices are available. The FA party ascended a rib to the left of the deeper cleft, eventually wrapping onto its left side. Belay on gear at a small ledge.
P12 FA Variation, 5.9R, 55m
The FA variation of this pitch is likely not the best choice for any party. After climbing it, they were able to see that the alternate variation described below looks more enjoyable and better protected. There are multiple viable options available, follow your nose when you get there. This variation is described for completeness.
Climb a groove leading up and past the left end of the large roof. Eventually your groove will terminate in a small roof. Pull right across an undercut face to escape (crux, exposed, poorly protected). Continue up easier ground above, eventually following a left facing crack and pulling onto the plateau. Belay on a two bolt anchor to your right, on top of the edge of the cliff, marked with a small cairn.
P12 Recommended Variation, 5.8, 60m
Head rightward to the deepest corner, right of the large roof. It is initially scrappy looking, but turns into good looking climbing shortly. Follow it upward, eventually choosing your own weakness to exit out the top, ideally belaying on the same bolted anchor as described above.
Descent - Third Tier
Traverse east along the cliff face a short distance to the top of a large chimney. Scramble down easily to find an anchor (bolts & cord) on the wall on the west side of the chimney. A very cool 60m rappel leads down the cleft.
The next anchor (bolts & cord) is on a ledge on the climber’s right wall. A notch exists under foot that the FA party got their rope stuck in. Trundle this block to ensure a clean pull. Rappel 50m.
You will now be on a ledge system at the base of the chimney. The next station (bolts & cord) is on the climber’s right wall. From here, rappel 40m down to the scree bowl.
Scramble back west along the top of the bowl to the ridge where you began the third tier.
Descent - Second Tier
Scramble down the gray blocky ridge below you, until you are forced skiers left into the notch at the base of the scree bowl. Scramble down this notch. From here, either scramble straight down to the scree and wrap around skiers right, or scramble right and down to cut the corner. In either case, return to the anchor at the top of the first tier (rings).
Descent - First Tier
Rappel 40m from this anchor to the ledge below. Walk a short distance skier’s right to the next anchor (rings) and pull your rope.
Rappel straight down 45m to the anchor (rings) at the top of P3.
Rappel straight down. 60m will put you in the middle of the P2 rock step. Do whatever feels appropriate to manage this, either soloing down or pitching down as desired. Traverse skiers right along the ledge to the anchor (rings) you spotted from the top of P1.
Rappel straight down to the ledge you traversed below the first pitch. Traverse back across it on moderate ground. At the final steep step, consider a single rope rappel around one of multiple horn options (no fixed tat).
Gear
- 60m half ropes recommended. 70m ropes would only help with one rappel. It isn’t necessary to tag packs.
- 12 draws, mostly alpine.
- Single rack .2-3, doubles .3-2. An additional .2, 3, and 4 are useful but not required.
- Mid-sized nuts.
- Pitons could be used but are not required (none placed by FA).
Photo topo
Juggernaut Route Description and Photo Topo by Greg Barrett is marked CC0 1.0