I’m often asked what I do to train for winter climbing. It’s a great question! I’ve tried many things but settled on a reasonably simple regimen that yields excellent results for me while only taking up three or four hours a week.
To climb strong in the winter, you need to:
- Keep hanging onto your tools
- Pull hard enough to get your next placement
- Have enough mobility to get your limbs where they need to be
Hang lots
If you can’t hold onto your tools, you won’t send. Doing something to train for holding on is such an obvious win that it doesn’t need further justification. Let’s jump straight into my protocol.
- Hang on your tools for 10-20 seconds at a time, with a matching amount of rest, for a total work time on each hand of at least one to two minutes.
- Rest for 3-5 minutes.
- Repeat for 3-5 sets, aiming to keep the total workout (without warmup or cooldown) approximately half an hour long.
- Do this 2-3 times a week. Consistency is critical.
Let’s break that down. The starting point is to hang with one hand on each tool. If this is the right amount of load for you, hang for 10-20 seconds, return to the ground for a matching 10-20 seconds, repeat. You want to hang for at least a minute, so that could be six sets of 10 seconds on and 10 seconds off. Or, for more difficulty, 3 sets of 20 seconds on and 20 seconds off.
If you need to make things easier, get something to support your weight, like feet on a chair or a pulley with a counterweight. If you need to make things more challenging, hang some weight off your harness or wear a weight vest.
For your progression, increase either the rep duration or number of sets until you’re hanging for at least two minutes, then do something to increase the difficulty. If you don’t have a good way to add weight, keep increasing your rep count.
At some point, you’ll feel strong enough to hang one-handed. I find one-armed dead hangs to be very rough on my shoulders, so my method here is what I call the ‘4-9 wiggle’. It’s very similar to the two-handed approach, except every 10-20 seconds, you switch between hands in a figure 4 or 9, staying off the ground. You can take weight off part way through the set to reduce difficulty if needed. For example, use your other hand to push up off the ground or a chair or hold onto a second tool with a couple fingers. Increasing the difficulty in this situation is more challenging, so I keep increasing the rep length until I’m at 20 seconds and then keep adding sets. The most I’ve hung on for in this fashion in my training is 8 minutes. If you’re getting to that point, you’re probably climbing at least M12 and might want to introduce additional elements to your program for further progression.

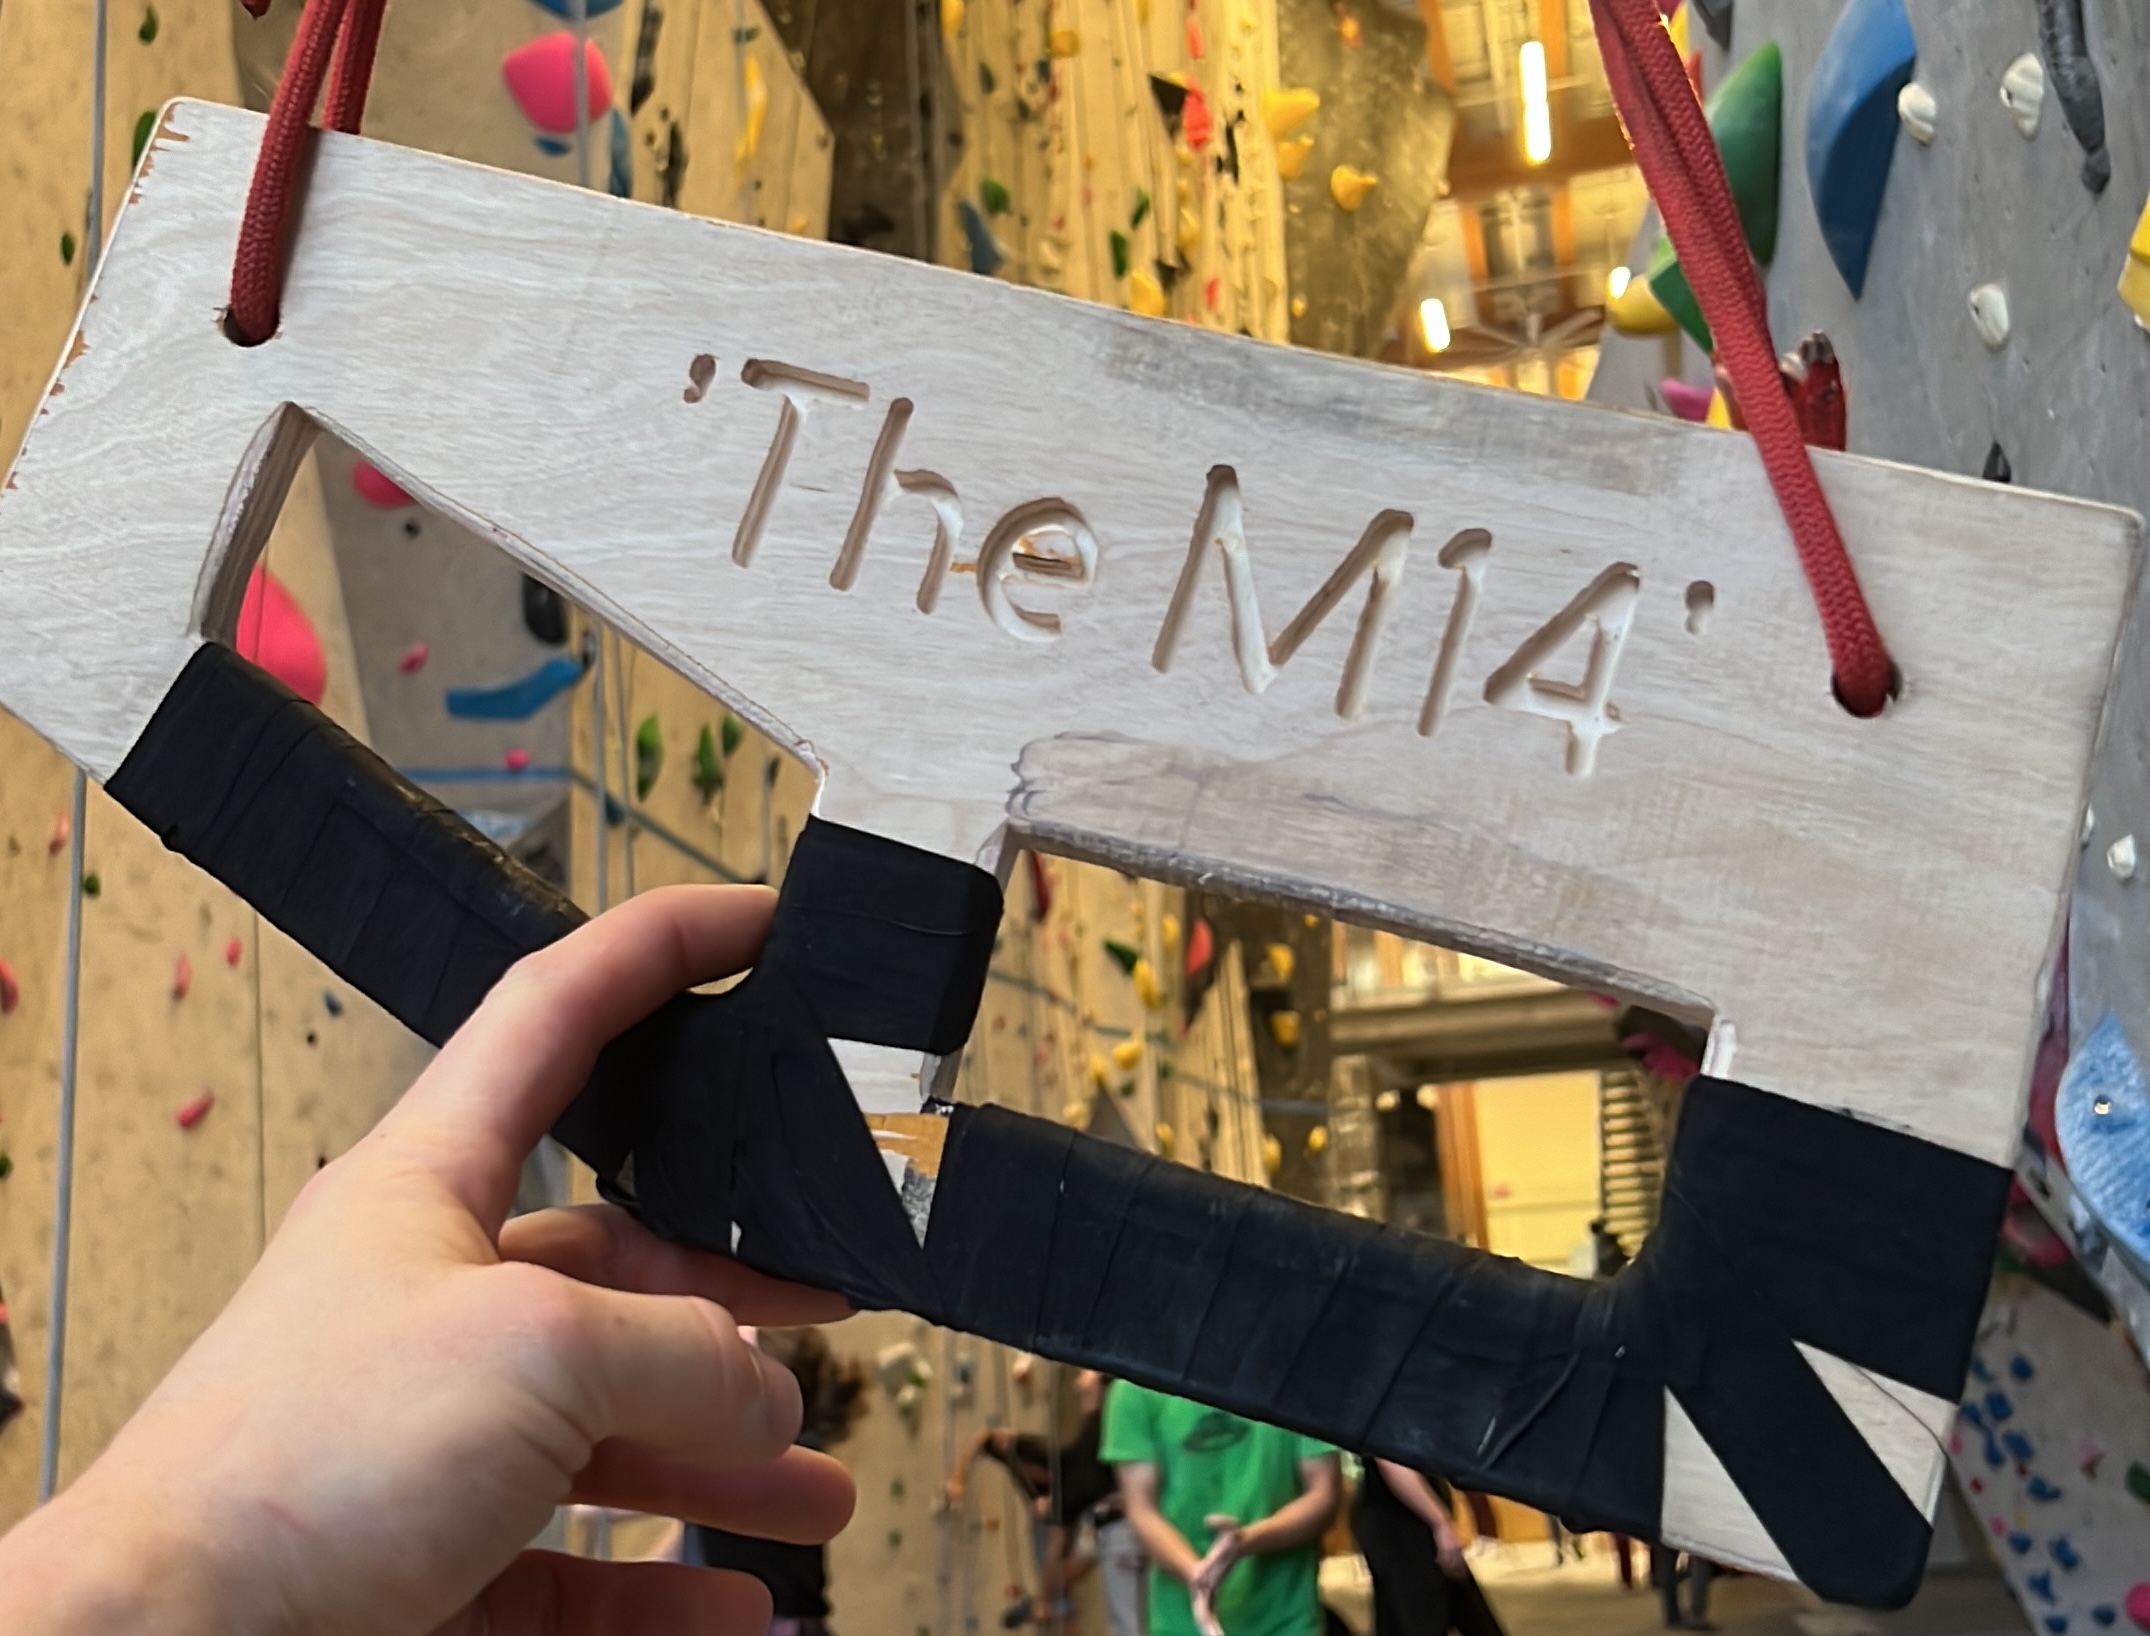
To crush, or not to crush (your pinky). The first instinct people have when training on tools is to clip carabiners into the head of the tool. This puts your grip in a highly upright position and tends to make you stop hanging due to pinky pain before you stop hanging due to the pump. Training pinky-crushing is valid, but I get enough of that dry tooling without suffering in the gym. Instead, try hanging some carabiners up and hooking them with the tip of your pick. This will put your grip in a more reclined position. I’ve gone one step further and built a wooden training tool that allows for adjustable grip angles by shifting a clove hitch. If you want one, I’m happy to provide a template. Nick Baggaley is in the process of making some for sale as well.
Wear thin gloves for this. Your skin will really take a beating if you go bare-handed. For another method of adding difficulty, try loose or thick gloves.
From this training, I have built up callouses big enough that I need to trim them down. If you’re getting persistent splitting on your pinkies, try using a thick hand lotion or Vaseline. Some people find lotions with vitamin E particularly helpful.
Pull hard
There’s a reason that training for almost every athletic discipline involves time spent in the weight room. It’s the most efficient way to build strength. Winter climbing, especially hard mixed and dry tooling, benefits more from power than rock climbing does. Finesse is valuable, but locking off and bashing at bulletproof ice requires some degree of brute force. Full wingspan throws and releases even more so.
Find a strength training routine that works for you. If bodyweight exercises or gymnastic rings are your jam, get after it. Some people like using ice tools like gymnastic rings. I personally prefer weights. I’ve described what I do below, but there isn’t any magic to it. Whatever makes you stronger and keeps you motivated is best. I shoot for two one-hour sessions per week. Generally, I do three sets of ten reps for all exercises.
One critical point, though, is to use impeccable form. Keep your shoulders locked into a solid neutral position and move slowly. Will you be able to move less weight this way? Sure! But the point isn’t to move a lot of weight; it’s to prepare your body. I’ve been religious about this for a few years now, and it’s made me feel comfortable doing massive releases onto one arm, knowing that all of those little muscles are protecting my shoulder.
Push
Climbers spend all their time pulling, so an opposing exercise is very valuable. I like a standard bench press, but anything similar will work.
Pull Down
Something to mimic locking off on tools. I like to do a close-grip pull-down with a “Double D Handle.”
Pull over
Something that involves pulling in front of you with your core, such as dumbbell pullovers. An ab wheel would be another example.
Pull In
The other half of locking off on a tool is pulling it into your core from in front. I like seated rows for this.
Swing
Do something for your triceps. You’ll need them when you hit fresh ice. I like barbell skull-crushers.
Let’s hit the lats
Lats are essential; we might not have worked them directly with our earlier lifts. My favoured method here is a standard lat pull-down.
Something for the shoulders
Ever get tired while coiling ropes? Dumbbell shoulder raises round out our upper body work.
Vanity curls
Finish off with some standard dumbbell curls. They’ll burn and make you feel like you worked hard.
Stay limber
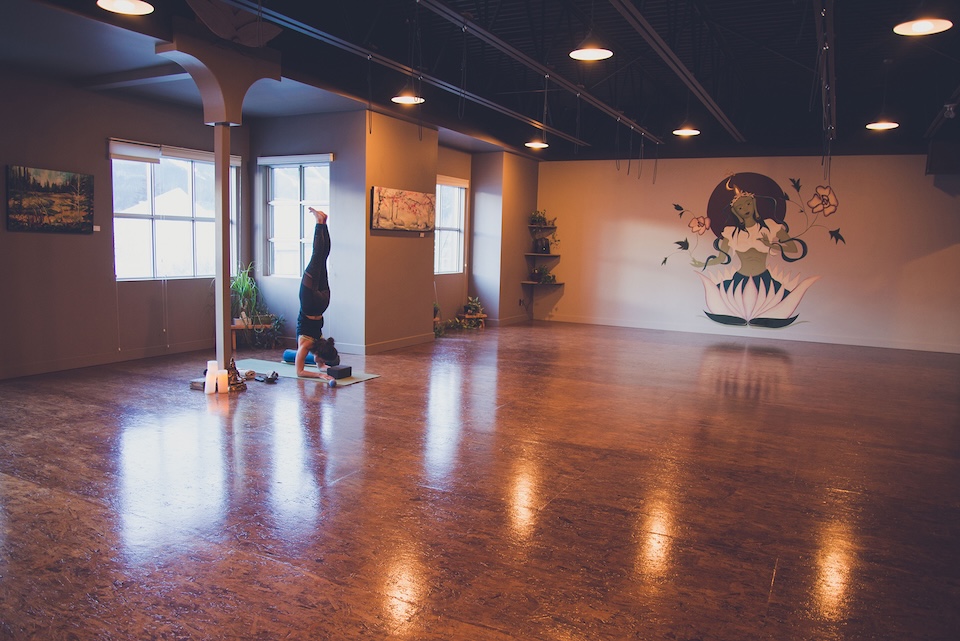
High steps, wide stems, figure fours. Good mobility is advantageous in many situations when winter climbing. I was fortunate enough to have my mother introduce me to yoga a long time ago, and it’s been an on-and-off part of my routine since. Even if you’re already flexible, if you don’t do something to maintain that mobility, you’ll slowly stiffen up over time. Another advantage to a semi-regular yoga routine is that it’s an excellent way to build trunk strength and strength at the ends of your range of motion. Even just one class a week during the winter goes a long way. If yoga isn’t your thing, any other form of stretching is excellent, too. If you’re in Canmore, Henri Ferguson at The Yoga Lounge will heal your body and mind.

Got thoughts?
This isn’t meant to be the ultimate routine for everyone. It’s what works for me, and I’ve had enough conversations about it that I wanted to write it up.
It is, however, a reaction to what I find to be overly complicated routines pitched elsewhere on the internet. Additional sophistication is warranted when you’re getting to elite performance levels. But when you’re just looking to feel safer climbing WI5, climb your first WI6, tick off classic bolted M8 lines, or you’re starting to push into double-digit dry tooling? I don’t think the week-by-week breakdowns, burpees, or explicit durations of time spent moving on such and such angle walls are warranted. Don’t get me wrong; if that gets you motivated, have at it! But for me, and I suspect many others, it’s needlessly complicated and intimidating.
So, with all that said, let me know what works for you and what doesn’t! I’d love to update this with people’s feedback. Perhaps this can be a starting point for people looking for a KISS-style routine. Keep it simple, stupid.


