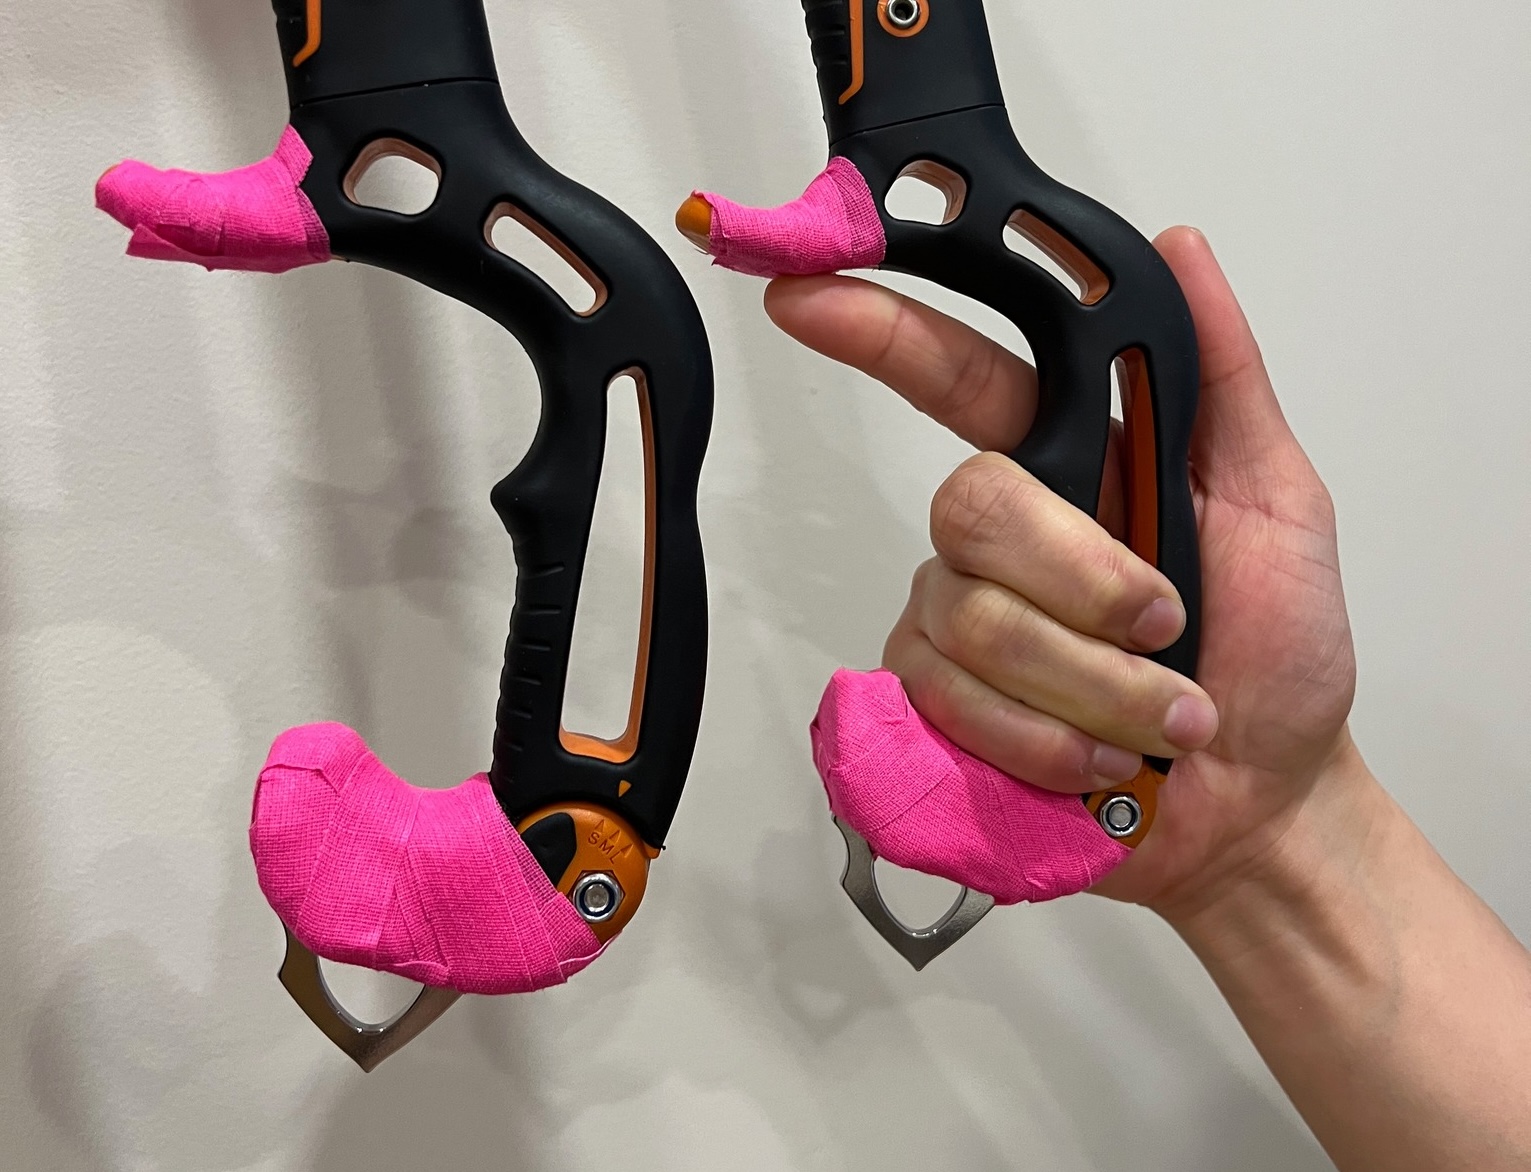
It’s an unfortunate truth that smaller people, particularly smaller women, aren’t served as well by the climbing industry. Boots, tools, and gloves that fit are all harder to come by. Tools have some adjustability, and some tools naturally have bigger or smaller handles. Trango Raptors are some of the smallest generally available. However, if you’d prefer to adapt a tool you think climbs well instead of choosing based on handle size, read on.
Approach One - Homemade spacers

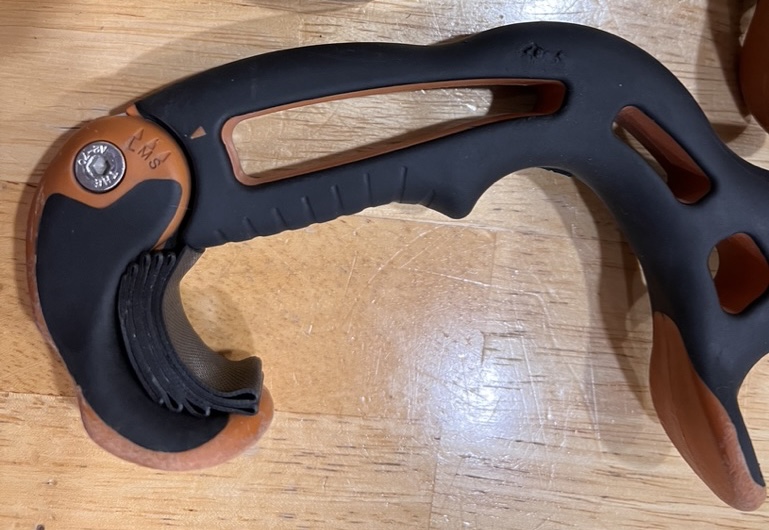
If you look at a tool like a Camp X-Dream, you’ll notice that it accommodates smaller hands by adding a spacer that moves your pinky higher. However, it only comes with one height out of the box. We can do better.
The first step is to find a material you want to use. I like Temflex 2155 splicing tape. It’s soft but thick and also works well to wrap your tool shaft. You can find it at hardware stores or online. Any shapeable rubbery material will work, like old bicycle tubes.
Cut out slices of this material and stack them on top of your pommel. Put on your gloves to check the fit, and keep adding until your pointer finger is properly lined up in the groove that many tools have.

Finally, wrap it all up in hockey tape. The tape should hold up for quite a while. If you’re doing mixed climbing or dry tooling where the tape gets ground off, stay on top of adding a bit more periodically.
Approach Two - Thermoplastic
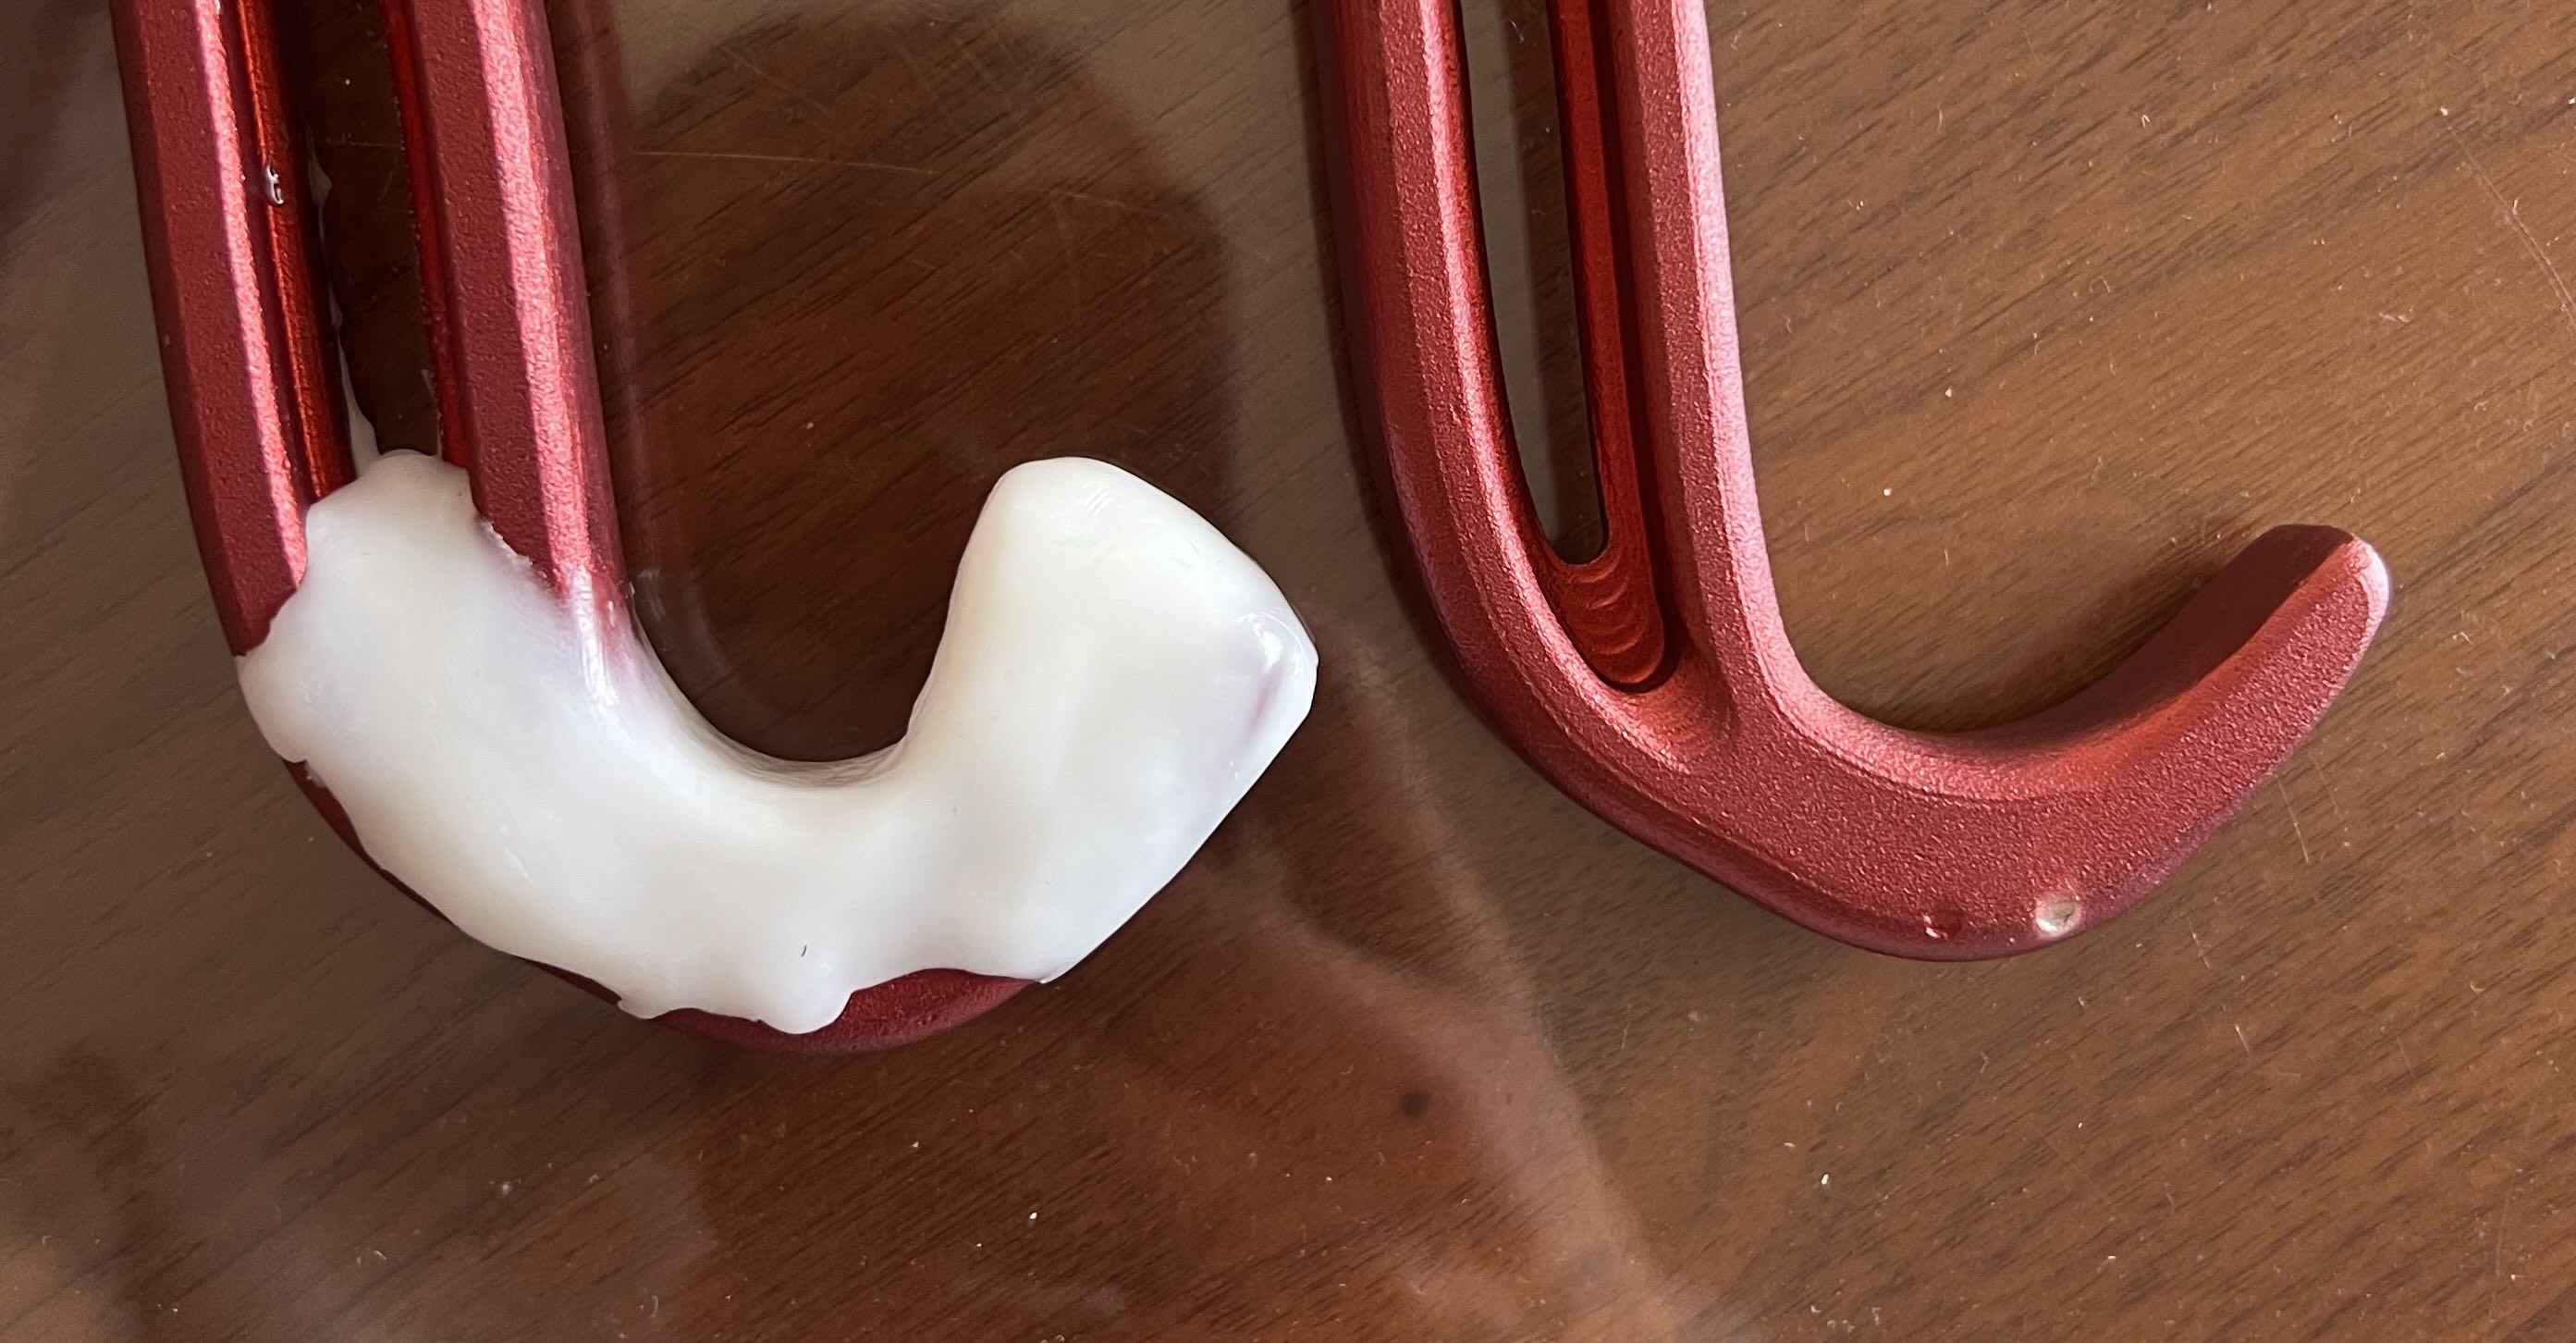
‘Thermoplastic’ sounds like it requires technical know-how to work with, but stay with me. It’s easy. All you need is hot water. Thermoplastic is a type of plastic that is solid at room temperature but malleable at about 150f/65c. I use it for a lot of odd jobs. Think of it like clay. You can buy thermoplastic at some hobby/craft stores or online. It usually comes as a bag of little beads and is pretty cheap.

Before we go further, a caveat: This stuff can be hard to fully remove. You can heat it again and wipe most of it off, but it’s hard to get 100%. You’ve been warned.
The process for using this to change your ice tools is simple. Heat up some water to 150f/65c. Hotter is fine if you don’t have a digital kettle/thermometer; you’re just more likely to burn yourself. Put it in a ceramic bowl or mug, and add a small quantity of the beads. Let them go soft and clear, then take them out and smush them together. Put them on your pommel and mush them into a friendly shape for your hand. If you wrap around the sides of the pommel a bit, it will add strength, like with clay. As it cools, it will remain somewhat malleable but less sticky. Try sizing it up while wearing a glove. Add or remove as needed. You can heat it and cool it repeatedly.

When you have something close, let it cool. Cold water or the great Canadian outdoors speed this process up. Then wrap it in hockey tape, and you’re good to go.
But here’s a cool part: You can re-soften your creation with a hair drier. Hit it with a hair dryer at a high temperature for a few minutes. Then, hold your tool with your gloved hand. The thermoplastic will be malleable again, so you can smoosh it around to support your pinky perfectly.
If you find your new pinky rest too hard, consider adding a layer of Temflex 2155 or another soft material on top of the thermoplastic and beneath a layer of hockey tape.
I hope this helps!
I’ve used these tactics with my small-handed partner and to adjust the shape of my own ice tools. Do you have another idea that works better for you? Let me hear it!


